Whether you’ve been pad printing for fifty years or are a mere fifteen minutes into your first pad printing session we are confident you’ll find answers, tips, and tricks that will help you along the printing journey. Read further to find a collection of the most common pad printing troubleshooting tips and answers.
This blog post will explore ink, pre-treatment, and substrates. In some cases we will even recommend the best pad printer for the job.
Pad Printing Troubleshooting Tips
This blog post compiles some of the most common questions and problems that occur during the pad printing process. It is our hope to make the printing experience as positive and rewarding from start to finish as possible.
Problem: Unable to Print White on Dark Fabrics
Tagless pad printing works by laying down an incredibility thin layer of ink. This results in a barely there feeling on apparel. However, due to the nature of the fine layer of ink laid down, one might notice that white or light colors on dark fabrics doesn’t translate well. Generally speaking, you may notice your white print on a dark fabric appearing grey. This happens due to the fact that ink used was not opaque enough, the ink was embedded within the dark garment fibers, thus failed to block out the dark garment fibers.
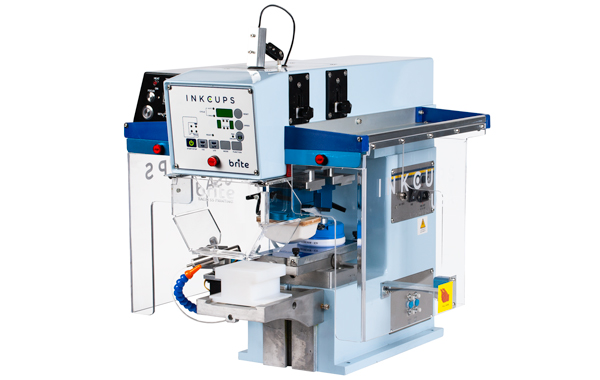
If you wish to print bright white on dark fabrics, we suggest using the Brite Care Label Printing Machine specifically created for pad printing brighter whites and light colors on dark fabrics. SB Brite Opaque Garment Printer Ink will ensure a crisp print with Brite White, Brite Pink, and Brite Yellow ink colors to choose from.
Tip: If you already own a pad printer, or have minimal need for printing white on dark try using Cool Grey 6 instead of white to get a more opaque print. This is a standard practice for many major brands!
Problem: Ink isn’t Sticking to the Substrate
There are multiple reasons why this could be an issue!
Reason 1: There is no universal ink
Inks are specially formulated with specific substrates in mind. For instance, Inkcups offers ten different inks for pad printing. For example, CG Series pad printing ink is formulated for glass, ceramics, and metal whereas PN Series if designed for untreated polypropylene, and SB Series for apparel and rubber. Good adhesion begins at the choice of ink used.
Reason 2: Contamination could be a factor
The substrate could have oils, dust, or mold on the substrate which acts as a barrier when laying ink down. In other words, oils from your hands handling the product could be the problem.
Reason 3: You may be missing a crucial step in your process, pre-treatment!
The surface energy of the material could be too low. Pre-treatment will alter the surface tension of your substrate to make it a more suitable location for ink to stick. Adding a pre-treatment regime is a common practice when printing on glass. Consult an Inkcups technician for your specific needs to come up with a personalized plan.
Problem: My Print is a Double Image
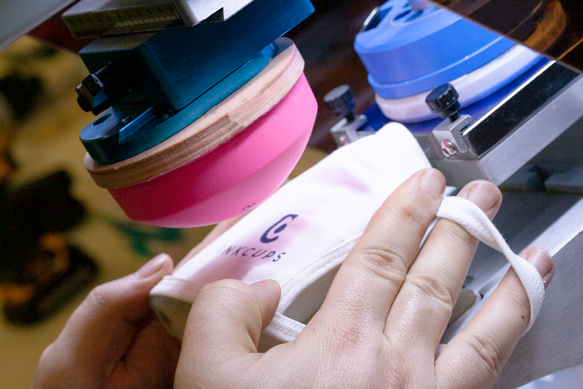
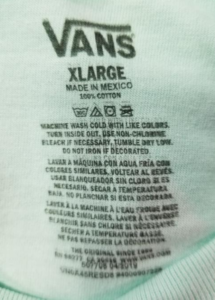 Does the image to the left look familiar? Are you experiencing a double image effect?
This can also be referred to as ‘Ghosting’. Ghosting, otherwise known as double images normally result from tabletop pad printing machines not being properly bolted down to the work surface. During operation the machine will rock and vibrate which creates double lines or a “ghosting image”.
To remedy this issue, make sure your pad printer is properly fastened to the table according to specifications from your manufacturer.
Problem: Pad Printing Machine isn’t Doctoring the Clichés
This could also be for multiple reasons. Let’s explore some of the most common reasons:
Reason 1: You’re Not Using Enough Ink
Low production run so you attempted to use less ink in the ink cup to minimize waste? To allow for proper functioning the ink cup must be filled to the minimum amount which allows the ink cup to doctor the cliché efficiently.
Reason 2: Scooping- Bald Spots on my Print
Scooping can occur for two reasons. The first being that with magnetic ink cups, it is possible that the magnetic pull can deflect the cliché which causes it to “scoop” ink from the area. The second being with a bold etch and less support for the ink cup results in the ink cup dipping into the etch and scooping out ink overtime.
Problem: Print Quality isn’t up to my Standards
Well, this can happen for many different reasons, and you may have the best luck picking up the phone and calling one of our knowledgeable pad printing technicians for their expertise. But let’s explore some of the most common reasons why.
Reason 1: Time to Replace Parts
Pad printing pads and the etched plate both have life spans! Even a pad that appears to have no visible signs of wear could be past its useable lifespan. Pads for pad printers are expected to last anywhere between 50,000 to 100,000 impressions but usage, storage, and environment can all factor into its lifespan.
Tip: The best way to remove ink from your pad is with packing tape.
Etched plate material come in a wide variety of materials and have different expected impressions, so if your Cobalt® Steelback plate is approaching 25,000 impressions and you’re seeing poor print quality a good place to start would be replacing the plate.
Reason 2: Environment
The best pad printing work space will be temperature controlled at 65 to 75 degrees Fahrenheit. In pad printing you mix pad printing ink with two other components: hardener and solvent. The function of solvent is evaporate during the printing process to make the ink tacky. However, higher temperatures expediate the evaporation rate and make for unpleasant and unsuccessful printing conditions. Check out a previous blog post, Pad Printing Ink Viscosity Optimization Tips, for a complete step-by-step mixing guide.
With the right knowledge pad printing can be a pleasant and fun experience. With the help from some of the most common pad printing questions we hope you can learn and be proactive when it comes time to print for your own business. Never hesitate to contact us for personalized help at 978-646-8980.
 Tagless Printers
 Cylindrical Inkjet Printers
 UV Flatbed Printers
 Pad Printing Machines
 Pretreatment Systems
 Inkjet Printing Auxiliary
 Laser Plate-Makers
 Inkjet Printing Supplies
 Pad Printing Supplies
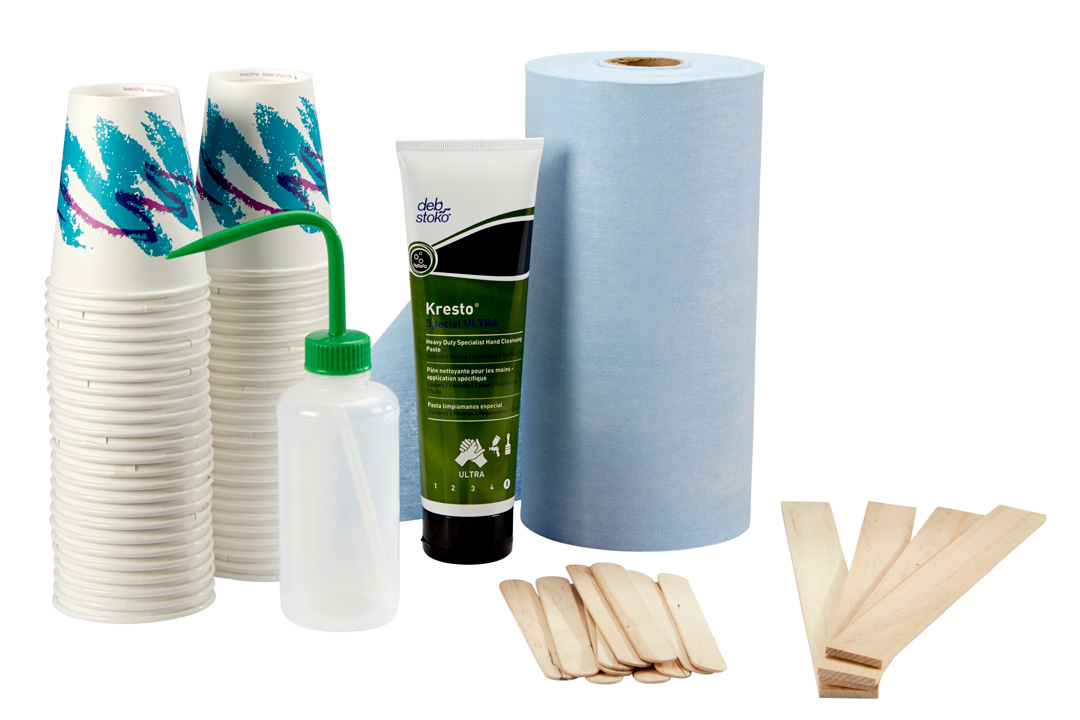 Tagless Supplies (tagless.inkcups.com)

 Does the image to the left look familiar? Are you experiencing a double image effect?
Eric
I have a question on static with ink.. I'm getting what looks like little tiny hairs, all over my pad and lightly smears the product. What is causing the static with the ink? I keep the room around 67 or so degrees. It can sometimes rise up due to uncontrolled circumstances.
July 15, 2022
Jessica
Hi Jodi! Please shoot us an email. We would be happy to help. [email protected]
February 24, 2022
Jodi Lindsay
My ink spears on my shirt as it stamps. Please help. I have cleaned the plate, I have turned the ink cup, I made sure there is no build up around the ink cup, I have changed the pressure to both ink and stamp, I cleaned the stamp, what more can I do? I even changed the ink when it should have lasted longer than it did. I changed it two hours after I filled with the right mixture and measurement. It should have lasted at least four hours.
February 18, 2022