Tagless pad printing pads are key in ensuring the print is as crisp and clear as possible. We interviewed our very own Pad Printing expert and technician, Luis Gúnera to get insight into key considerations for these pads.
Q: What are the key considerations for choosing a pad printing pad for a tagless application (printing on apparel or other textiles)?
A: Choosing tagless pad printing pads is pretty simple because the substrate is flat and does not change that drastically across different products. That being said, the considerations I communicate to our customers are the size of the artwork, the thickness of the fabric and the shape of the artwork. The size of the artwork corresponds with the machine you are using to print. The B100, for example, users smaller pad printing pads because the maximum image size is 80mm. The B150, on the other hand will utilize larger tagless printing pads because the maximum artwork size is 140mm. Then jumping to the last consideration, the shape of the artwork will determine the pad shape. As a rule of thumb, if the artwork is round, I suggest a round pad, if it is rectangular, I suggest a rectangular pad, etc. Identifying the artwork shape and size up front will help companies to be as successful as possible from the start. Once these criteria have been discussed and a pad has been chosen, the next step is to adjust the pressure on the actual machine to prepare for printing.
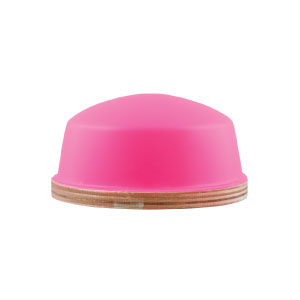
Q: Looking at the Inkcups pad printing pad line, which would you suggest?
A: Right off the bat, I would suggest the Everflex® material, which is the hot pink pad. This is more of a harder, longer-lasting pad. Some companies, however, will choose another pad material based on what they are used to. The three most common tagless pads are:
- S053 short: Round pad shape
- 180 short: Square pad shape
- 150 short: Rectangular pad shape
Q: When it comes to maintenance of the printing pad, what are your suggests?
A: After every shift, clean the pad with clear packing tape. For example, if you are going to lunch, make sure you clean the pad with tape. At the end of the night, clean the pad with clear packing tape and then cover the pads. This can be done by putting a strip of tape over the pads, putting the pads in bags or keeping them in a closet. After the pads are used quite a bit, they start to develop a lot of static which will encourage dust and other airborne particles to stick to the pad. If an operator forgets to clean the pad at the end of the night, try using packing tape in the morning to remove the ink. If that does not work, you can put a little bit of solvent on a lint-free towel and gently clean the pad’s surface. You’ll want to let the pad dry completely before printing. Although this is a tip, you do not want to do this every day as it will start to wear the surface.
Another great way to keep the life of your pad is to use our Nu-Pad pad conditioner. This should be used once a week at the end of a night, typically before a long time off (i.e. a Friday if you do not operate on weekends). Clean the pad as usual with your clear packing tape. Once that is complete, apply a light film of Nu-Pad to your pad and spread around with a lint-free towel. Take the pad and put it in a drawer or in a plastic bag. Once you return, clean the pad with clear packing tape and start printing!
To learn more about our tagless printers, contact us!
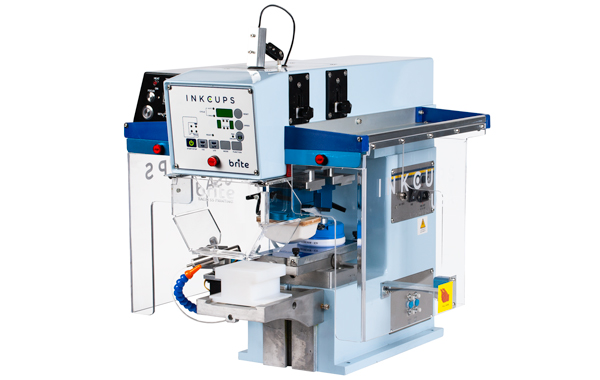 Tagless Printers
 Cylindrical Inkjet Printers
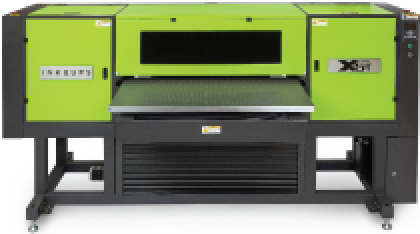 UV Flatbed Printers
 Pad Printing Machines
 Pretreatment Systems
 Inkjet Printing Auxiliary
 Laser Plate-Makers
 Inkjet Printing Supplies
 Pad Printing Supplies
 Tagless Supplies (tagless.inkcups.com)
Add Your Comment