- Equipment
- Inks & Supplies
- Services
- Applications
- Tagless
- Resources
- About Us
- Contact Us

Direct to Garment (DTG) printing has revolutionized the way we customize apparel, offering a high-quality alternative to traditional methods. While it is commonly associated with t-shirts, DTG printing has expanded its reach to tote bags, providing a versatile and vibrant canvas for personalization. In this article, we will delve into the intricacies of DTG tote bag printing, exploring the process step by step and comparing it with other digital printing methods.
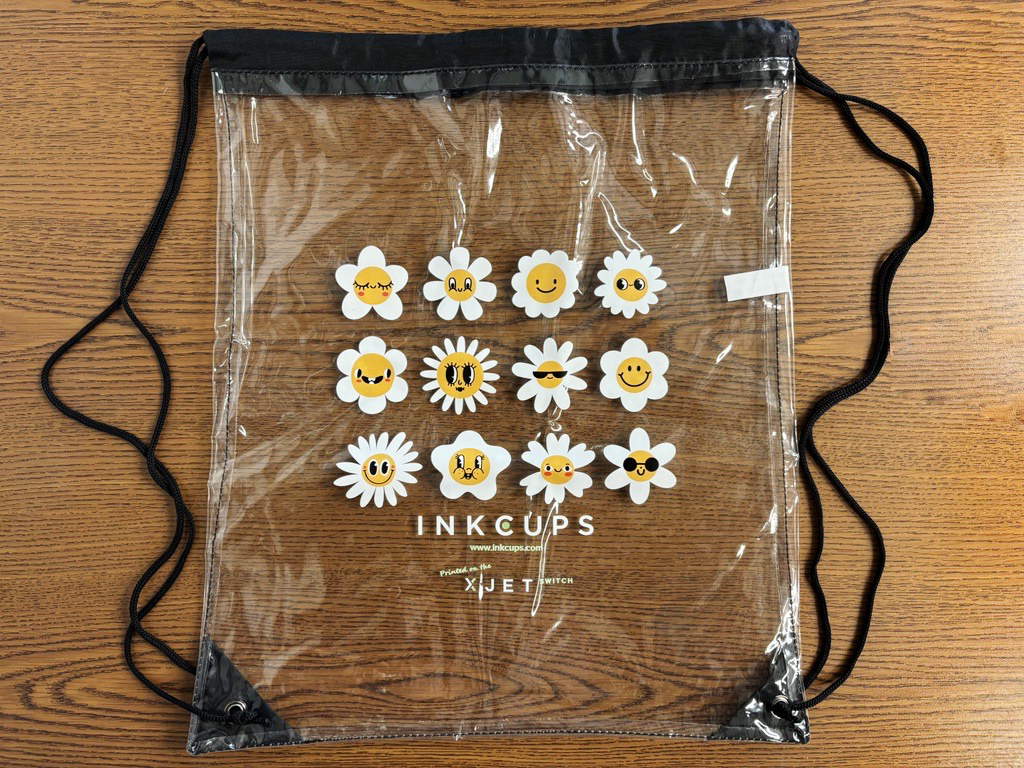
Please note that the clear stadium bag in the image above was printed with a digital flatbed printer, the XJET Switch.
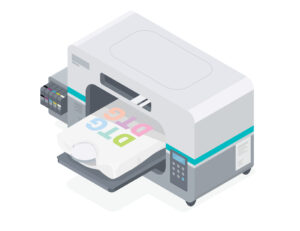
DTG tote bag printing involves a meticulous process consisting of five key steps:

Pre-Press: The journey begins with preparing the tote bag for printing. Any wrinkles or moisture must be eliminated to ensure a smooth surface for printing.
Pretreatment: Similar to prepping a stainless tumbler before printing, pretreatment primes the tote bag for optimal ink adhesion. This crucial step enhances color vibrancy and ensures durable prints. Pretreatment can be applied manually or with the help of specialized machines for consistent coverage.
Placement: Securing the tote bag onto the platen is essential to prevent shifting during printing. Depending on the DTG printer used, various methods such as straps or tape may be employed for secure positioning.
Print: With the tote bag primed and positioned, the DTG printer springs into action, transferring the digital artwork directly onto the fabric.
Press: The final step involves heat pressing the printed tote bag to set the ink and ensure longevity. This curing process typically lasts around a minute, allowing the colors to bond seamlessly with the fabric.
DTG printing excels in delivering high-quality prints on natural fabrics, particularly 100% cotton. However, it is important to note that DTG may face challenges when printing on various materials, especially dark fabrics, where its performance may be limited.
For apparel decorators already utilizing DTG printers, expanding their offerings to include tote bags presents a logical choice. This method delivers high-quality prints on natural fabrics, requiring only a modest adjustment in technique.
While initially appealing for tote bag decoration, DTG printing comes with certain limitations. It struggles with designs featuring transparencies or printing on dark fabrics. Moreover, it cannot be used on materials sensitive to heat due to the necessary pre- and post-heat press stages. Additionally, DTG printing is not the swiftest process; depending on the complexity of the artwork, production time per tote bag can be significant, especially for large orders.

While DTG printing may come up in discussions about digital printing methods, it differs slightly from the digital printing methods utilized at Inkcups. We manufacture three distinct types of digital printers—cylindrical, flatbed, and conveyorized—all distinguished by their UV curing capabilities. This sets them apart from DTG printers, which necessitate a final drying step. Our printers instantly cure the ink using ultraviolet light, streamlining the process and enabling operators to immediately handle, stack, and pack tote bags for shipping.
The first step in the digital bag printing process is artwork preparation. The artwork then needs to be prepped for the printing process, which can be done manually or with an art preparation software like ArtPrep. ArtPrep will vastly improve your pre-printing process as it automatically creates the different layers; one for white, one for color, and one for varnish (if applicable) and then tells the printer where and how each print head should lay down the ink on the substrate. Once the artwork is prepped for print, the process is quick and easy!
To begin, select the prepped artwork on the computer, load the bags onto the platens, and tell the printer to begin printing! The digital printer then begins to lay down ink, all while ultraviolet light instantly cures the uv ink being laid down to ensure the crispest images. Once the printing is complete the bags can be unloaded, and the next set can be loaded for print. That is all.
Do not let material limitations dictate your printing options. With digital UV printers and UV ink, you can decorate a wide range of materials, regardless of heat sensitivity. These materials include, but are not limited to, cotton, canvas, polyester, woven, and non-woven fabrics.
The XJET Switch stands as a pioneering solution in the realm of decorating tote bags with its advanced flatbed UV printing technology. Tailored specifically for full-color direct applications onto reusable bags, and beyond, this state-of-the-art printer boasts the capability to produce vibrant, high-quality prints with ease. With features including CMYKWW (highly opaque white) ink support, a generous total print area of 13.8 inches x 25.6 inches (350 mm x 650 mm), and a maximum part height of 8 inches (203.2 mm), the XJET Switch enables seamless production on various items such as drawstring backpacks and tote bags. Its continuous printing model further streamlines the production process, allowing an operator to load tote bags in the front, while the XJET Switch prints in the back.
Find more information about printing on reusable bags on our dedicated page: Printing on Tote Bags. This page explores all of the popular methods of decorating tote bags, as well as the most popular materials for decorating. For more inspiration on what types of reusable tote bags can be decorated with a UV flatbed printer, please visit our Applications Page: Reusable Tote Bags.
To get started digitally decorating tote bags, draft a list of questions, grab your tote bag samples, and contact your local sales representative today.
Learn more: UV Inkjet Printer: The Ultimate Guide
Back to Blog Home
Add Your Comment